 how-to
How to Stage Home for Photos: 2026 Seller Guide
Table of Contents
- Why Staging for Photos Matters More Than Showings
- Step 1: Declutter and Depersonalize Every Room
- Step 2: Deep Clean and Remove Pet Evidence
- Step 3: Arrange Furniture for Camera Angles
- Step 4: Maximize Light and Neutral Color Palettes
- Step 5: Boost Curb Appeal for the First Shot
- The Real Estate Photography Checklist for Listing Day
- Virtual Staging vs Physical Staging: Which Fits Your Home?
- Frequently Asked Questions
Last Updated: September 4, 2026
Buyers make snap judgments in fractions of a second, and listing photo quality determines whether they click or move on. Staging your home for photos is the highest-ROI task before the camera comes out. This Lysting Direct guide breaks down a room-by-room staging process for professional marketing standards.
Staging is not about decorating for your own taste. It is about creating a neutral, photogenic canvas that lets buyers imagine themselves living there.
Why Staging for Photos Matters More Than Showings
Most sellers assume the in-person tour wins buyers, but modern home buying begins online. Your listing photos are the first showing, and often the only one a buyer ever gives your home.
Staging for the camera differs from staging for a walkthrough. A camera lens flattens space, so what feels spacious in person can look cluttered and cramped in a photo. The National Association of Realtors profile of home buyers consistently shows that buyers rely heavily on photos when filtering homes. If a buyer skips your listing because the photos feel dark or crowded, no in-person showing can recover that lost opportunity.
The goal is a series of images that tell a clear story about the home's flow, light, and potential. Buyers click on bright, clean, move-in-ready listings; they skip ones that require imagination to see past clutter or personal style.
Step 1: Declutter and Depersonalize Every Room
Decluttering is the foundation of every successful staging effort, and it must happen before any other preparation. Removing excess items from countertops, shelves, and floors instantly makes rooms appear larger and cleaner in photos.
Start with the living room, kitchen, and primary bedroom. Remove personal photographs, collectibles, and distinctive decor so buyers can picture their own family photos. Remove about half of what feels like a normal amount of decoration; arrange what remains in groups for visual balance.
Every item you remove needs a temporary home. Invest in clear, labeled storage bins for closets and the garage. Pushing clutter into closets makes them appear overcrowded in photos; a clean, organized closet suggests abundant storage, a feature buyers actively seek.
Step 2: Deep Clean and Remove Pet Evidence
A deep clean is non-negotiable for listing day, because the camera captures details the eye glosses over. Baseboards, light switches, window sills, and ceiling fan blades all appear in high-resolution photos. Thorough cleaning of these surfaces signals a well-maintained home and supports your asking price.
Pet odors linger in carpets and upholstery beyond visible hair. Have carpets professionally cleaned, wash pet bedding, and clean litter boxes daily before the shoot. Remove food bowls, crates, toys, and pet beds from sight. Buyers who are allergic or do not own pets respond more positively to a home with no visible trace of animal life.
Step 3: Arrange Furniture for Camera Angles
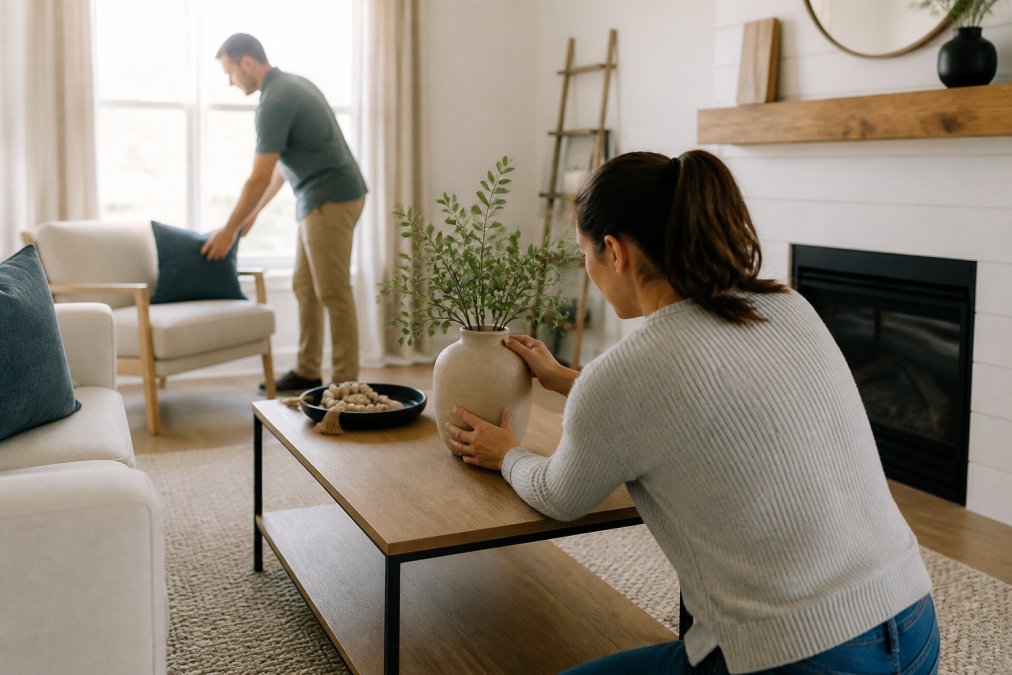
Furniture arrangement for photography prioritizes flow over how the room feels when you live in it. The camera needs clear sightlines and defined walkways. Identify each room's focal point, a fireplace, large window, or bed, and arrange furniture to highlight it.
Pull furniture away from walls by several inches to create depth and shadows. Angle chairs toward each other for conversation areas that read well in wide-angle shots. Remove pieces that crowd the room; fewer well-placed items photograph better than a packed room.
Consider the camera's perspective during arrangement. A photographer will typically shoot from the doorway or a corner to capture the full depth of the room. Walk the path the photographer will take and check for pieces that block the view or create awkward cropping. The real estate photography guidance from the American Society of Media Photographers emphasizes that furniture placement directly affects the success of wide-angle shots, so treat your arrangement as a set designed for the lens.
Step 4: Maximize Light and Neutral Color Palettes
Natural light is the most flattering tool in real estate photography, but a camera's sensor has a narrower dynamic range than your eyes. It struggles to capture detail in both bright windows and darker corners simultaneously. Your staging job is to compress that contrast so the final image looks balanced.
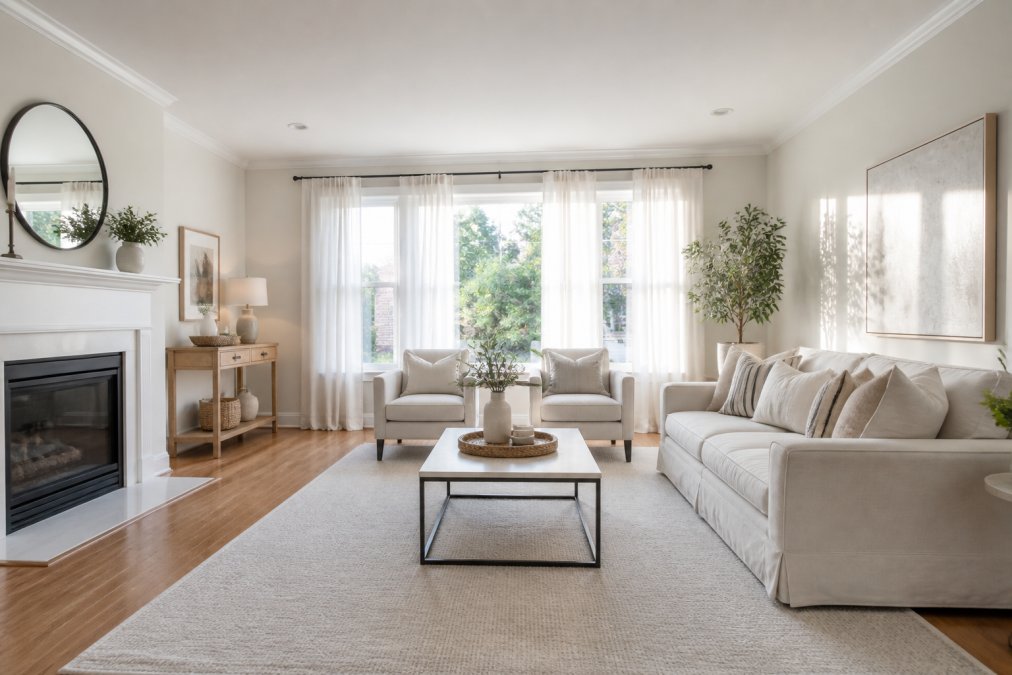
Open all window treatments fully and wash the glass inside and out; grime diffuses light and adds a hazy cast. Turn on every light fixture to fill shadow areas. Mixing 2700K and 5000K bulbs creates a color cast that confuses white balance. Replace all bulbs in a room with the same color temperature, most photographers prefer 4000K to 5000K for a clean, neutral look.
A neutral palette is essential, but the camera exaggerates saturation. A bold accent wall can dominate a wide-angle shot. If repainting is not feasible, use large neutral throws, rugs, and slipcovers to mute the color. For neutral walls, watch the undertone; a warm greige can look pink or yellow in cool daylight. Add a large white or cool-toned art piece to balance it.
Replace outdated or mismatched fixtures with modern, simple designs that photograph cleanly, and ensure all bulbs match in color temperature.
Managing contrast and color temperature for the sensor is the difference between a lived-in look and a professional listing. Most staging guides skip this tactical step, but it makes your photos stand out in a grid of thumbnails.
Step 5: Boost Curb Appeal for the First Shot
Curb appeal sets the tone for the entire listing, and the exterior shot is often the first image buyers see. The front of your home must look immaculate from the street, because that first impression determines whether buyers continue scrolling.
Mow, edge, and trim shrubs so the exterior looks tidy. Add fresh mulch to garden beds. Pressure wash the driveway, walkways, and the front of the house. A freshly painted front door in a neutral or classic color creates a strong focal point for the entry shot.
Remove personal items from the porch, including doormats with family names and tired seasonal decorations. A simple doormat and one or two well-maintained planters suggest a welcoming entry. Ensure the house number is visible and clean, and check that the mailbox and exterior lighting are in good repair.
The Real Estate Photography Checklist for Listing Day
By the time the photographer arrives, every element of your home should be camera-ready. This real estate photography checklist consolidates the entire staging process into a final walkthrough you can complete in the hour before the shoot.
| Checklist Item | Why It Matters | Time Needed |
|---|---|---|
| Remove all personal photos and toiletries | Depersonalizes spaces for buyer imagination | 10 min |
| Hide trash cans, recycling bins, and cleaning supplies | Prevents visual clutter in photos | 5 min |
| Fluff pillows and make beds with crisp linens | Adds polish and perceived comfort | 10 min |
| Clear kitchen counters of small appliances | Creates an open, spacious feel | 10 min |
| Open all window treatments and turn on lights | Maximizes natural light and warmth | 5 min |
| Remove pet bowls, crates, and toys | Eliminates distractions for non-pet owners | 5 min |
| Wipe down mirrors and glass surfaces | Ensures crisp reflections in photos | 5 min |
| Stage the front entry with fresh planters | Strengthens first impression | 10 min |
Work through this list in order, starting with the rooms that will appear first in your photo gallery. If you are coordinating the shoot yourself, provide the photographer with a brief that highlights your home's best features, such as the open floor plan or a renovated kitchen, so they know where to focus their attention.
What Post-Production Can and Cannot Fix
A critical part of preparing for listing day is understanding what happens after the shoot. Post-production is standard in real estate photography, but it has hard limits. Knowing these limits helps you prioritize your staging efforts and set accurate expectations for what buyers will see.
What editing can fix:
- Exposure and white balance: A photographer can brighten underexposed rooms and correct color casts from mixed lighting.
- Lens distortion: Wide-angle shots often bow straight lines; editors can correct this to make walls look vertical.
- Minor blemishes: Scuffs on baseboards, small stains on carpets, and dust spots on mirrors can be cloned out.
- Sky replacement: A gray sky on the exterior shot can be swapped for a blue one, a common practice in listing photos.
What editing cannot fix:
- Clutter and personal items: A photographer can remove a single stray object, but they cannot declutter a room. If a counter is covered with appliances, the photo will look busy no matter how much editing is applied.
- Pet damage: Scratched floors, chewed baseboards, or lingering odors cannot be edited out. These must be repaired or cleaned before the shoot.
- Structural issues: A cracked ceiling or a missing cabinet door will still be visible. Editing these would misrepresent the home and could violate fair housing or truth-in-advertising principles.
Most practitioners find that buyers who feel misled by photos, whether due to virtual staging or over-editing, are less likely to make an offer. The Federal Trade Commission guidance on deceptive advertising underscores that images must not misrepresent the condition of a product. For a home, that means your photos should reflect the actual state of the property, not an idealized version that doesn't exist.
Ask your photographer for a list of what they plan to edit. If they mention removing a large piece of furniture or changing a wall color, that is a red flag. Your staging should be so thorough that the photographer only makes minor adjustments. This protects you from misleading-buyer accusations and ensures the person who walks through the door is not disappointed.
Virtual Staging vs Physical Staging: Which Fits Your Home?
Virtual staging has become a popular alternative to physical staging. Virtual staging involves digitally adding furniture and decor to photos of empty rooms, while physical staging brings actual furniture and accessories into your home.
Virtual staging works best for vacant homes where the cost of renting furniture outweighs the benefit. It is significantly less expensive than physical staging and can be completed in days rather than weeks. However, virtual staging has limitations. The Federal Trade Commission guidance on deceptive advertising requires that virtually staged photos be clearly labeled as such, because they do not represent the actual condition of the home. Buyers who arrive to find empty rooms after seeing furnished photos may feel misled, which can damage trust.
Physical staging, while costlier, creates authentic photos and benefits in-person showings since furniture remains in place. For occupied homes, it typically means editing your existing furniture rather than renting new pieces.
A hybrid approach works for many sellers: physically stage the living room and primary bedroom, the two spaces buyers weigh most heavily, and use virtual staging only for empty secondary rooms. This balances cost with impact while keeping your listing honest.
Staging your home for photos is a systematic process that rewards attention to detail. When you present a clean, bright, neutral home, you give buyers a reason to click and schedule a tour. At Lysting Direct, we support sellers who want control over their sale with professional marketing standards, guided onboarding, and clear, system-based communication. Our seller-controlled approach means you prepare your home, manage your showings, and keep the equity a traditional listing commission would take.
Frequently Asked Questions
Can I stage my house myself for photos?
Yes. Start by removing personal items and clutter to create a neutral canvas. Rearrange existing furniture to open up walkways and highlight the room's focal point. Use a deep cleaning checklist to ensure surfaces shine. Professional stagers add rented furniture and accessories, but a clean, depersonalized home with good natural light often photographs well without that expense.
What is the cheapest way to stage a home for photos?
The cheapest effective method is a thorough DIY session. Depersonalize and declutter every room, remove pet items, and do a deep clean. Then focus on maximizing natural light and using neutral throws or pillows to update worn furniture. If your rooms are empty, consider virtual staging for the listing photos instead of renting furniture.
Do buyers actually care about staging photos?
Yes. Listing photos are the first impression, and buyers often decide which homes to visit based on them. Staged photos help buyers see the home's potential by defining each room's purpose and creating a welcoming focal point. A well-staged listing can shorten time on market because the visual appeal drives more showing requests.
How does virtual staging compare to physical staging for selling?
Physical staging works best for occupied homes or key rooms like the living room and primary suite, adding tangible depth and scale. Virtual staging is a cost-effective way to furnish empty rooms in your listing photos. The best approach often combines both: physically stage high-traffic areas and use virtual staging for vacant secondary spaces.
Preparing your home for listing photos takes effort, but the payoff is a stronger first impression and better marketability. Lysting Direct helps you put that preparation in front of more buyers through professional MLS placement without the overhead of a full-service agent. Start Your Lysting and take control of your sale with confidence.
Frequently Asked Questions
Q: Can I stage my house myself for photos?
A: Yes. Start by removing personal items and clutter to create a neutral canvas. Rearrange existing furniture to open up walkways and highlight the room's focal point. Use a deep cleaning checklist to ensure surfaces shine. Professional stagers add rented furniture and accessories, but a clean, depersonalized home with good natural light often photographs well without that expense.
Q: What is the cheapest way to stage a home for photos?
A: The cheapest effective method is a thorough DIY session. Depersonalize and declutter every room, remove pet items, and do a deep clean. Then focus on maximizing natural light and using neutral throws or pillows to update worn furniture. If your rooms are empty, consider virtual staging for the listing photos instead of renting furniture.
Q: Do buyers actually care about staging photos?
A: Yes. Listing photos are the first impression, and buyers often decide which homes to visit based on them. Staged photos help buyers see the home's potential by defining each room's purpose and creating a welcoming focal point. A well-staged listing can shorten time on market because the visual appeal drives more showing requests.
Q: How does virtual staging compare to physical staging for selling?
A: Physical staging works best for occupied homes or key rooms like the living room and primary suite, adding tangible depth and scale. Virtual staging is a cost-effective way to furnish empty rooms in your listing photos. The best approach often combines both: physically stage high-traffic areas and use virtual staging for vacant secondary spaces.